The Tevo Upgrades: Aluminum, Carbon Fiber, Printed, or Acrylic?
While the Tevo Tarantula is a great kit… it does have some drawbacks. One of which, is the acrylic parts. Some of your first prints should include upgrades to the acrylic parts that have a tendency to get broken. (Much more of a tendency, if you don’t use washers). Thankfully, super glue can fix it easy, but there are several things you can do to upgrade your little spider to make it stronger. You can find out more upgrades by going here: New Printer, Now what?
This list is basically the most expensive to the least.
-
Aluminum:
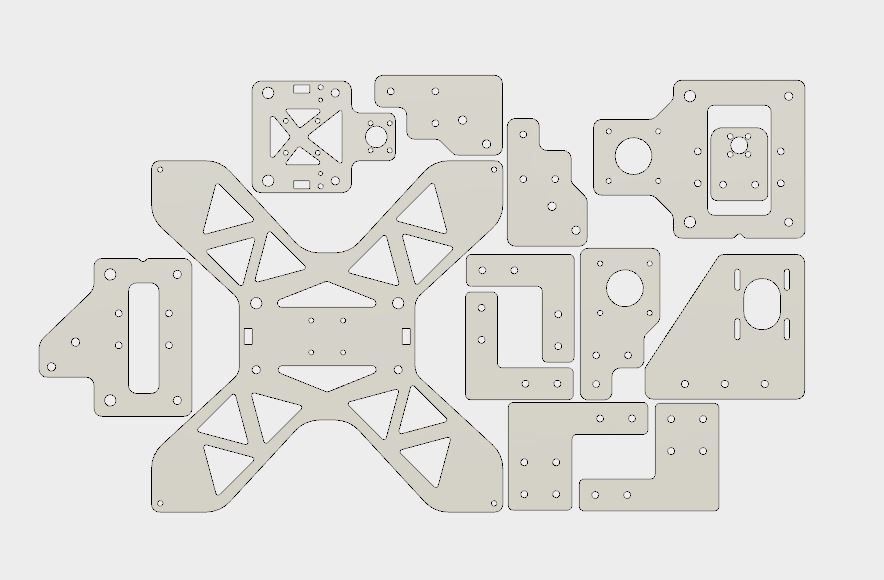
Aluminum is strong, fairly light, and can be anodized to different colors. Brushed aluminum is always just beautiful. There are two main suppliers of this upgrade. While I have heard good about both, I can say that I have Perry Posthoorn’s kit, and have been extremely happy with it:
- Perry Posthoorn’s Aluminum Parts Kit This is the kit that is on my printer. The Y I purchased but the rest of the parts were sent for a review. I’ll link to it once it is up. These parts I highly recommend purchasing. They make your printer far better in both quality of prints and reliability.
- Isaac Fankhauser’s Aluminum Parts Kit
I’m leaving Isaac here for historic reasons. He was the one that came out with the first aluminum build kit. He no longer produces them. His Grabcad image is still down below for all the parts, though.
-
Carbon Fiber:
Carbon Fiber is strong, and light. Lets face it, Carbon Fiber also looks awesome. It can be purchased here:
Mackers.it Carbon Fiber Parts Kit
-
Printing Parts:
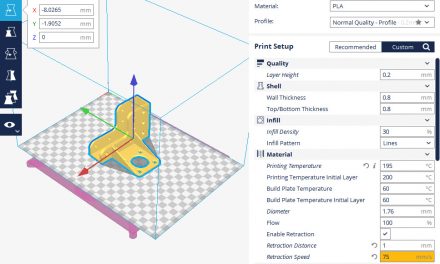
There are a large number of upgrades that can be printed for much cheaper than the above two solutions. ThingiRob’s supports seem to be one of the most popular. There are a number of remixes based on his printed parts. I’d recommend starting there, and looking around Thingiverse for other ideas, or just use ThingiRob’s. PLA is a good plastic, but if you are going to put your printer in a heated enclosure, you need a material that isn’t affected by heat, the way PLA is. That brings us to the other common printing material, ABS. ABS is great in a heated environment, but it needs a heated environment to print well, which kind of creates a chicken and egg scenario… unless you just put a cardboard box over your printer. The answer, to me, is PETG. I started printing upgrades in PLA, and then switched to PETG. It has many of the good properties of ABS (high heat tolerance, etc, with the advantages of PLA (easy to print, etc). PETG is a great filament, and I think probably a good way to build parts to eventually get an enclosure built.
-
Leave the Acrylic:
This is the easiest. Acrylic is brittle, and flexes some. It is not as strong and rigid as the other solutions above, but it is easier. Do you need to do any of the upgrades above? No. Should you? It is probably best to print at least some of the higher stress parts like the Z-motor bracket and Z endstop. The Y carriage I would recommend either printing or purchasing in Aluminum or Carbon Fiber.
My plan is to eventually replace most, if not all of the acrylic with prints or Aluminum/Carbon Fiber.
Here is a little Bonus: Isaac Fankhauser has also been so good as to provide the files to create the parts in the Aluminum Kit.
Finally, here is Rui Raptor’s video on upgrading the bed to Carbon Fiber:


Trackbacks/Pingbacks