
The 3D Printing Pipeline
There are a lot of new things to learn, when you get into 3d printing. Some people are getting into 3d printing to design and prototype ideas… others to just have fun. Where you fall on this continuum will probably dictate, a lot, what tools you will be using. I view the pipeline in 3 broad categories… and there is software that bridges these gaps.
The pipeline is Design, Slice (or prep to print), and print.
Design
If you want to create something from scratch… you need some sort of CAD software. There are a number of them out there for hobbyists and professionals. This will be primarily be looking at more hobbyist tools. The one I am learning, is Fusion 360. What I love about this software, is the pricing scheme. If you are an amature and learning, they don’t charge you. You get a yearly subscription. If you are learning in an academic environment, it lasts even longer before you have to renew. If you are using it professionally, then you do have to purchase it. It is kind of intuitive… but very powerful.
Another tool I have heard of, but not used, is Tinkercad. It does a great job and I have seen some nice things created by Chuck Hellebuyck using it.
Many hobbyists circumvent this step and go to Thingiverse or a multitude of other sites that supply 3d models to print.
Prep to Print
This is where your slicing program comes in. These include Simplify 3D, Cura 3D, and Slic3r. These programs are where you load your models (.stl files) and then you use the programs to define different aspects of your print, you have them sliced to prep for print. I covered these programs in this post.
From there you output your gcode for use in the printer.
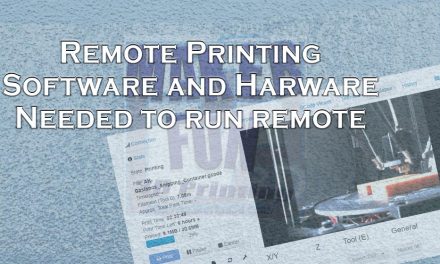
Gcode to Printer
This is more of a sub-step. You can hook your computer up directly to your printer board (Not a method I personally recommend). You can copy your gcode to an sd card and insert it in your printer (assuming your printer has that functionality). Or, you can set up a server to transfer your file to, like the OctoPi print server (This is my current setup which I did a post on).
The print step is actually having your printer, print. This is your printer’s firmware. Different printers use different firmware, but a large number use Marlin. Many printers, especially the more open ones, allow you to update your printer’s firmware. I don’t recommend this, for the most part, if you are new. Get to know your printer and get it working with the “good” firmware that it shipped with. If you need additional features, then it is time to upgrade. Thomas Sanladerer did a great video on configuring the firmware.
Most new users will probably get models from Thingiverse or another source. Then pick up a free slicer to begin with, and then use their printer’s internal firmware to start printing. As a user gets more familiar with their setup, they may wish to expand their capabilities by moving to more advanced software in this printing pipeline.


Trackbacks/Pingbacks