Washers are no joking matter
It’s gotten to be somewhat of a joke with the Tevo Tarantula saying to use washers… but only because the advice is repeated so often. It is great advice and will save your acrylic parts. The washers help distribute the force from the nuts and bolts as they are tightened down on the acrylic. I’ve since built a kit that features the extra parts you need to assemble the printer, and also do upgrades that you print. I get the 90 degree brackets from the AliExpress link below and I also get the t nuts from there. The actual washers, nuts and bolts, I purchase locally from Tacoma Screw Products.
Here are the washers I used during my build:
#10 washer (Amazon | AliExpress)
#8 washer (Amazon | AliExpress)
M4 washer (Amazon | AliExpress)
When I would use a washer, I would use the largest that could fit. Many times, the build instructions would list a smaller washer, and that, I would put back into my spares, and use a #10 or #8 washers. Other times, there was extra room and I would put a small washer on top of the wider washer, making for a bit better fit. The idea is you want to distribute the pressure. Acrylic is somewhat brittle so you are trying to protect it. I see lists of stuff to buy, and honestly, for the build side, that is all that I needed.
The one other thing I wish I had, was these 2020 Angle L brackets (Amazon | AliExpress). The kit comes with two, I wish I had 2 more for across the top.
With this, the printer is ready to go. You will want to look at more materials like T-nuts, nuts, and bolts to do different upgrades. Especially those upgrades that bolt to the Tarantula and would use the T-nuts to tighten down.
There are a number of aluminum angle brackets like these (Amazon | AliExpress) that you can also use to reinforce the corners. The key to a great build is having a square, rigid frame.
I realize this goes well beyond washers, but there are so many small parts such as washers that go into making a kick-butt version of a Tevo Tarantula.
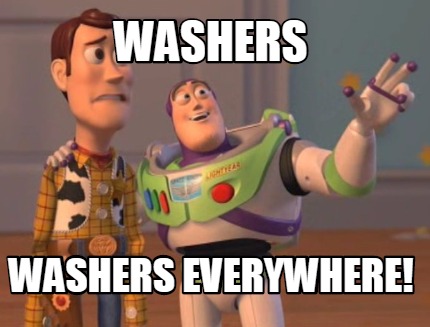


I did that meme.. did you take from my post ?
No, I used a Meme Maker. (https://www.mememaker.net/meme/washers-washers-everywhere) That is where I built it.